- 3Community
- :
- The Hub
- :
- The Living Room
- :
- Review of the Pan/Tilt Home Security Wifi Camera T...
- Mark Topic as New
- Mark Topic as Read
- Float this Topic for Current User
- Bookmark
- Subscribe
- Mute
- Printer Friendly Page
Review of the Pan/Tilt Home Security Wifi Camera Tapo C200
- Mark as New
- Bookmark
- Subscribe to updates
- Mute
- Permalink
- Report this post
Review of the Pan/Tilt Home Security Wifi Camera Tapo C200
Heres my Review of The Pan/Tilt Home Security Wifi Camera Tapo C200 from Tp-Link
The Tapo C200 is indoor security/monitoring camera from TP-Link. During my review I mainly used as Pet camera could be used as baby monitor or home security monitor also.
In the box, you get Tapo Pan/Tilt Home Security Wi-Fi Camera, Standard UK Plug with 3 metre cable, Quick Start Guide, Mounting Screws and a Mounting Plate
The built-in speaker and power connection are at the rear of the camera.
The Microsd slot is located underneath the camera lens alongside the reset button (No Microsd included)
On the base of the camera there is 3 soft rubber feet which give it some grip when placed on a surface.
Using the mounting plate you could mount it on a wall/ceiling but I just placed mine on my kitchen counter, it’s a pity more companies don’t include a mounting guide.
Configuring the Camera
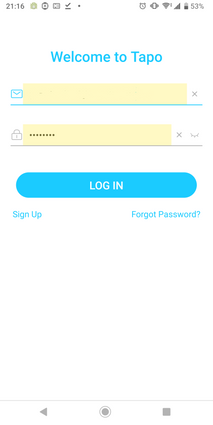
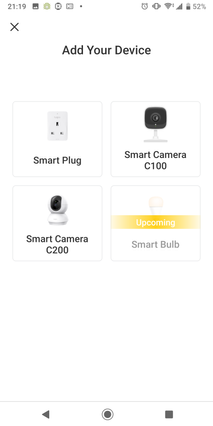
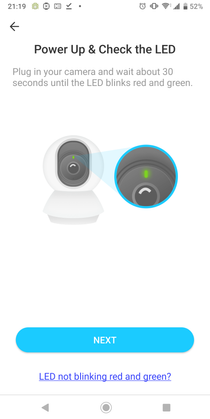
Using the Tapo App (available from Goolge Play Store or iOS) setting up the camera app was very straightforward. First sign-in to your Tp-Link account
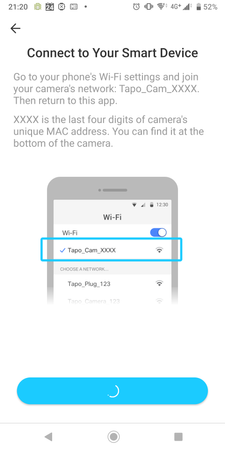
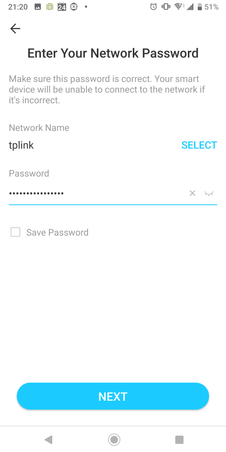
You will be prompted to connect to a wifi network that the Tapo C200 will create for the initial connection, then you will get prompted to select the wifi network of your home that you want your Tapo to connect to and its Wi-Fi password.
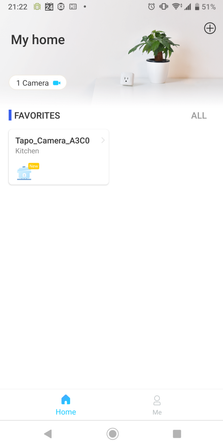
Finally, there’s an option to name your Tapo C200 device and give it a nice looking icon for it. And that’s it! Your all set
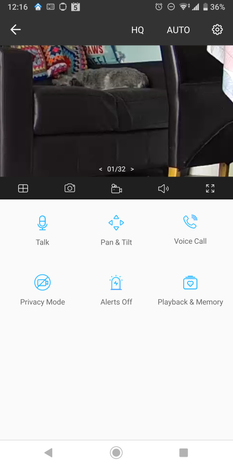
The Tapo app is very straight forward and all the main features for the camera are easily accessible when you select your camera.
In the above screenshot the main options are clearly laid out like changing video settings from HQ/LQ video Auto (Day/Night Mode) and the Main Settings Menu.
If you have multiple Tapos you can view them all on one screen at the same time.
From the main screen if your viewing the stream you can take a picture or Start/Stop a recording, or make the picture fullscreen.
Other features are
- One way talk
Allows one way communication from your phone to the camera’s speaker, handy mode if you want to talk to a baby or a miss behaving pet.
- Pan and tilt
I found it very responsive it has a good range of motion (360 Degree Rotational Views, 114 degree Vertical range) The apps has some modes of rotation, horizontal/vertical pan and mark a position that you can quickly return to.
- Privacy button
To easily stop the recording functions of the camera.
- Switch Alerts on/off
Allows the user to disable/enable audio alerts on the camera’s speaker
- Playback and memory
This shows you what you have recorded and also the videos/pictures that you have saved.
- Voice Call
Allows you to make a two way “normal” call to the Tapo from your device.
Camera Settings Menu
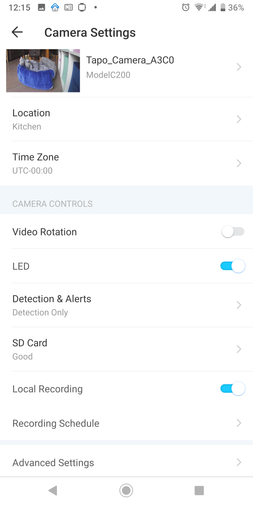
In the Settings menu you have plenty of options to configure the Tapo C200.
You can rename the camera, see what wifi network that your connected to and view signal strength. It would be nice if you could connect to a 5Ghz wifi but only 2.4Ghz is supported. Also there is an options to check for Firmware updates
Location will give you nice icon to show where the camera is located
Video Rotation, if you place the camera on a ceiling and you want to flip the images to that it appears the correct way up in the app.
LED. Option to disable/enable the LED.
Detection & Alerts, alerts are audio prompts that will use the cameras speaker.I have the Tapo set to Motion Detection for me, as I only want to record when the camera detects motion. It records in 1080p and Night vision up to 30ft and I found the quality of night time images quiet good.
“Notifications”, I disabled this as my pet as always setting of a recording then I would get notification, if you were using the camera as a security camera I would keep it enabled.
“Camera Alert” The camera will make an audio alert that it has detected motion, I had this disabled as I didn’t want the camera to make audio notification but if you setup a schedule it would be good security feature to enable. Even if you have pets you can select a certain area to check for motion
SD Card, I had issues with my 128GB Microsd card, the app should make it a bit more obvious that it has to format a Microsd card for the camera to use it. When I first inserted the card the camera said it had problems with the card. To resolve this you need to select the Format option in the settings menu and then you should be good to use your existing Microsd card (from the TP-Link website 128 GB on a microSD card, equal to 384 hours (16 days) of footage)
The Edit Schedule settings allows you to define periods when you want to record/not to record.
Advanced settings let you setup a camera account is to allow other apps/ from your PC to access your camera https://www.tp-link.com/uk/support/faq/2680/
On-screen Display, essentially allows you to inserts a timestamp and or customer text on your recording.
If you want to integrate with your Smart device I was easily able to get it to work with Alexa by using the Tapo Skill.
Image of the camera on the Amazon Echo Show 5, “Alexa show Kitchen”
If you looking for a security/indoor monitoring camera without a paid for cloud subscription that has excellent video quality it would be hard to beat the Tapo C200.
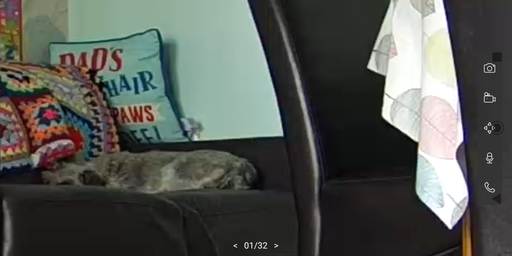
Daylight and Night time samples
Video sample
Full Specs
https://www.tapo.com/uk/product/smart-camera/tapo-c200/
Available to Buy


